
Cooking temperature is not something to judge by color alone. A golden crust can hide a cold center, while a browned surface may already be overcooked. An Instant Read Thermometer gives you a quick, measurable answer when timing and appearance become uncertain. It helps check steaks, roasted chicken, fish, bread, sauces, and reheated leftovers with greater confidence. The tool is simple, but accurate results depend on how you use it. Probe placement, reading time, and thermometer care all matter.
This guide explains how to use an Instant Read Thermometer safely and consistently. You will learn where to insert the probe, how deep it should go, and when to wait for a stable reading. For thin foods, the tip should reach the center without touching the pan. For thicker foods, check several points because heat may spread unevenly. Clean the probe before and after each use. A quick rinse is not always enough, especially after raw poultry. Follow the manufacturer’s cleaning instructions and check calibration when readings seem questionable. Ice water should usually read close to 32°F (0°C), but product instructions remain important. Small errors happen. Even experienced cooks can read the surface instead of the center. This article focuses on practical habits, verified temperature guidance, and safer kitchen decisions. You may still need to adjust your technique for different foods, equipment, and cooking conditions.
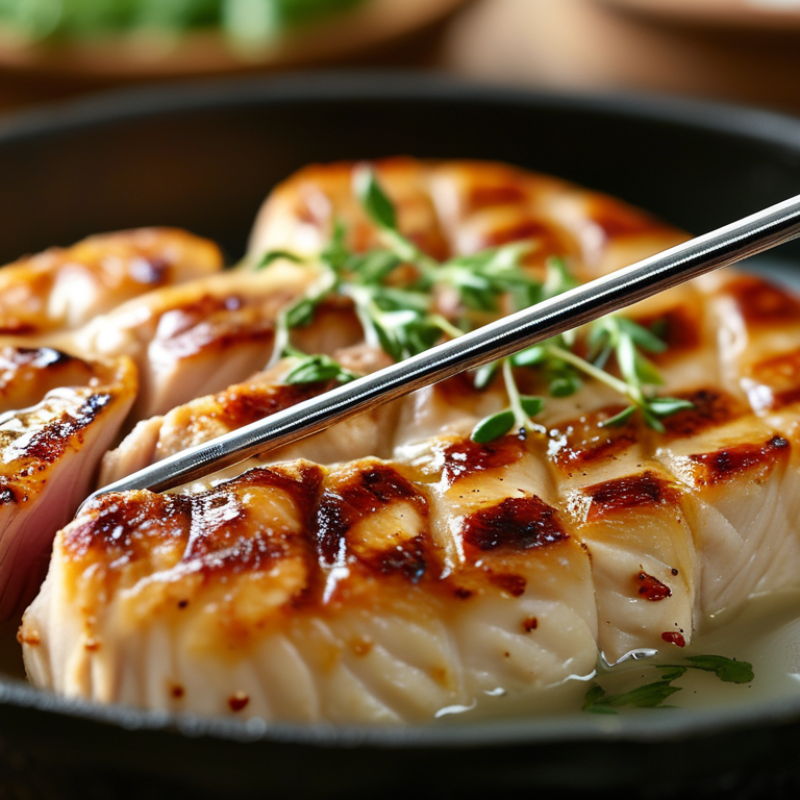
An instant-read thermometer measures a food’s internal temperature within seconds. It is different from an oven-safe thermometer, which stays inside during cooking. Use it near the end of cooking, especially for thick chicken breasts, burgers, roasts, custards, and reheated leftovers. Surface color can deceive you. A browned crust does not prove that the center is safe.
The USDA Food Safety and Inspection Service recommends 165°F for poultry, 160°F for ground meats, and 145°F for whole cuts of beef, pork, lamb, and veal, followed by a three-minute rest.
The CDC estimates that foodborne illnesses cause about 48 million illnesses and 128,000 hospitalizations in the United States each year. These figures make temperature checks more than a cooking preference.
Insert the probe into the thickest area, avoiding bone, fat, and the pan. Check two or three spots. I sometimes check twice, because one reading can look reassuring while the center remains undercooked.
Tips:
Remember carryover cooking. Large roasts may rise several degrees after removal. I still occasionally cut into food too early, which loses juices and proves that temperature control takes practice.
Before taking a reading, wash the probe with warm, soapy water. Rinse it well, then dry it completely. Moisture can dilute a sample or affect contact with food. Check the probe for bends, cracks, or loose parts. The display should be clear and easy to read. Replace a weak battery before cooking important meals. Small errors often begin before the thermometer touches the food.
Test the thermometer in an ice-water bath. Fill a glass with crushed ice, then add enough cold water to fill the gaps. Stir the mixture for several seconds. Insert the probe without touching the glass. The tip should sit near the center. Keep it steady. A reliable thermometer should read close to 0°C or 32°F. If the reading differs, adjust the device when possible. Some models require professional calibration instead.
I used to skip this check when preparing quick lunches. That habit seemed harmless, but repeated small errors can change cooking results. Let a refrigerated thermometer warm slightly before testing hot food. Sudden temperature changes may produce unstable readings. Wait until the numbers stop moving. Clean the probe between different foods, especially raw meat and ready-to-eat items. Never place the display or electronic housing in water. I sometimes rush this step, and that is exactly when careful preparation matters most.
How to Use an Instant Read Thermometer?
How to Measure Food Temperature Step by Step
Begin with a clean, sanitized probe. Check its accuracy in ice water. The reading should be 32°F (0°C). If it differs, adjust it or note the difference. This small check is easy to skip. I have skipped it before, and that was a poor habit.
Insert the probe into the thickest part of the food. Approach from the side when measuring thin meat. Avoid bones, fat pockets, and the cooking pan. Wait until the numbers stop changing. Check two or three areas, because one spot may cook faster. USDA Food Safety and Inspection Service guidance identifies a thermometer as the only reliable method for confirming safe internal temperature. Poultry should reach 165°F (74°C). Ground meats need 160°F (71°C). Whole cuts of beef, pork, veal, and lamb should reach 145°F (63°C), followed by a three-minute rest.
Do not rely on color or texture alone. The CDC estimates that foodborne illness causes about 48 million illnesses and 128,000 hospitalizations annually in the United States. Those figures explain why temperature checks matter. For leftovers and casseroles, measure the center and several dense areas. Reheat them to 165°F. Clean the probe immediately after each reading. A common mistake is touching the thermometer to the hot pan. That measures the pan, not the food. I still recheck when the result seems surprisingly low; thermometers can be misused, and readings deserve a second look.
| Step | Action | How to Do It Correctly | Important Temperature or Safety Detail |
|---|---|---|---|
| 1 | Clean the thermometer | Wash the probe with hot, soapy water, rinse it, and dry it before use. | Cleaning helps prevent cross-contamination between raw and cooked foods. |
| 2 | Turn it on and check the display | Switch on the thermometer and confirm that the screen is readable and the temperature is changing normally. | Replace or recharge batteries if the display is dim or readings are unstable. |
| 3 | Check accuracy when needed | For an ice-water check, stir ice and water together and place the probe in the mixture without touching the container. | The reading should be about 32°F (0°C). Allow for small differences according to the thermometer’s instructions. |
| 4 | Choose the thickest part of the food | Insert the probe into the thickest section, because it usually heats more slowly than the surface. | For thin foods, insert the probe from the side so the sensing area reaches the center. |
| 5 | Avoid bones, fat, and the cooking surface | Keep the probe tip away from bones, pockets of fat, gristle, the pan, and the grill grate. | These areas can give a reading that does not represent the food’s actual internal temperature. |
| 6 | Insert the probe correctly | Place the sensing tip into the center of the food without pushing it completely through. | The sensing section must be fully surrounded by food for a reliable reading. |
| 7 | Wait for the reading to stabilize | Hold the probe in place until the numbers stop changing or the thermometer signals that the reading is ready. | Do not rely on the first number that appears on the display. |
| 8 | Measure more than one location | Check the thickest areas and compare several spots, especially in large or uneven foods. | Use the lowest reading to decide whether the food has reached a safe temperature. |
| 9 | Compare the result with a safe minimum | Check the measured temperature against the appropriate minimum internal temperature below. | Food should reach the recommended minimum before it is served. |
| 10 | Clean the probe after measuring | Wash, rinse, and dry the probe after checking raw food and again after cooking. | Never place a contaminated probe into cooked food without cleaning it first. |
| Food | Minimum Internal Temperature | Measurement Guidance |
|---|---|---|
| Poultry, including chicken and turkey | 165°F (74°C) | Measure the thickest part of the breast, thigh, or wing, avoiding bone. |
| Ground meat, including beef, pork, lamb, and veal | 160°F (71°C) | Check the center of the thickest portion or several locations in a large batch. |
| Whole cuts of beef, pork, lamb, and veal | 145°F (63°C), then rest for 3 minutes | Insert the probe into the thickest part, away from bone and fat. |
| Fish and shellfish | 145°F (63°C) | Measure the thickest section of the fish. |
| Egg dishes | 160°F (71°C) | Check the center of casseroles, quiches, and other thick egg-based dishes. |
| Leftovers and casseroles | 165°F (74°C) | Measure the center and several cool spots, especially when reheating a large portion. |
An instant-read thermometer measures the food’s internal temperature, not its surface heat. Wash the probe before and after use. Insert it into the thickest part, avoiding bones, pans, and empty pockets. Wait for the numbers to stabilize. Do not guess.
According to CDC estimates, foodborne illness causes about 48 million illnesses, 128,000 hospitalizations, and 3,000 deaths annually in the United States. Temperature control matters. USDA Food Safety and Inspection Service guidance recommends 165°F (74°C) for poultry, 160°F (71°C) for ground meats, and 145°F (63°C) for whole cuts, followed by a three-minute rest. Check more than one location when cooking a large roast or uneven piece. The coolest reading deserves attention.
Record the food, date, cooking stage, location, and temperature. A simple note might say, “Chicken breast, center, 165°F, 7:10 p.m.” Record it. Compare the result with the relevant safety target, not with color or texture alone. Temperature can continue rising after removal from heat, but the increase varies with food size and cooking method. I have sometimes trusted one quick reading too much. That is a useful weakness to correct. Check the thermometer in ice water occasionally; it should read 32°F (0°C). If readings drift, recalibrate according to the instrument’s instructions or replace it. Use a clean probe between samples. Small habits protect the record’s reliability.
Cleaning an instant-read thermometer protects both food and the people eating it.
Wash the probe with warm water and dish soap after every use, especially after checking raw meat, poultry, or seafood. Rinse away soap, then dry the stem with a clean paper towel.
For extra protection, wipe the probe with an approved food-contact sanitizer and follow its contact time. Never place the display in water unless the instructions clearly allow it.
Store the thermometer in a clean protective case or drawer, away from knives, steam, and direct heat.
Keep the probe dry before storage. A damp probe can develop residue around its seam. Remove the battery if the thermometer will sit unused for several months.
Check the battery compartment for corrosion before using it again.
Small habits matter.
Accuracy also needs regular attention.
Test the thermometer in ice water, which should read about 32°F (0°C), and compare the result with the manufacturer’s tolerance. Boiling-water tests can vary with altitude.
If the reading is outside the allowed range, recalibrate it when possible or replace it.
I once skipped this check because the display looked normal. That was careless.
A clean thermometer can still give unreliable readings after a hard drop, so inspect the stem and screen before trusting it.