
ZenaDrone Homepage

7 Tips for Choosing the Best Plastic Extruder

Choosing the right Plastic Extruder can shape product quality, production costs, and the confidence of everyone on the factory floor. A machine may look impressive in a brochure, yet perform poorly with your resin, die, or target output. The details matter: screw design, barrel heating, cooling capacity, control accuracy, and access for routine maintenance. A few degrees of temperature drift can change melt behavior. A poorly matched screw can leave you chasing inconsistent dimensions across a long production run.

Extrusion specialist Chris Rauwendaal’s work points to a practical principle: “Choose an extruder around the material and process requirements, not headline speed alone.” That is a useful way to assess competing machines. Ask suppliers for relevant test data, material-specific recommendations, and clear explanations of operating limits. Where possible, inspect a running line and examine sample products under realistic conditions. Look closely at the controls. Are readings easy to understand? Can operators spot a problem before scrap builds up?

There is no perfect machine for every plant. Not even close. A smaller operation may value straightforward changeovers, while a high-volume facility may prioritize uptime and automation. Budget matters, but purchase price rarely tells the whole story; energy use, spare parts, training, and service response also affect ownership costs. Be honest about what you do not know. Some decisions become clearer only after trials. The following seven tips offer a grounded framework for comparing a Plastic Extruder, asking better questions, and choosing equipment that fits your actual production needs.
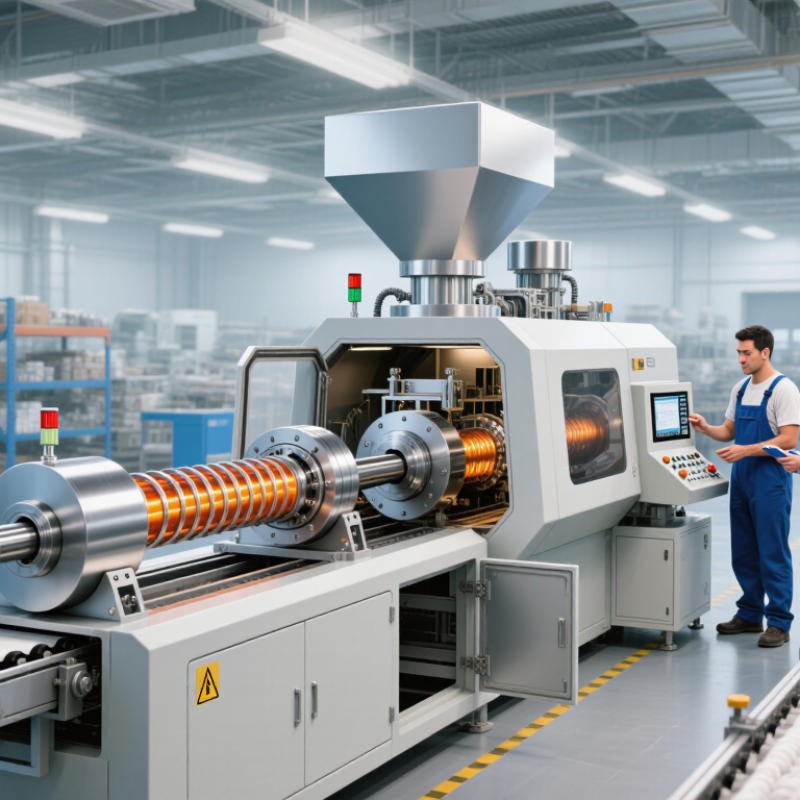
7 Tips for Choosing the Best Plastic Extruder

Define Production Needs and Target Material

Before comparing machine sizes, define the production job in measurable terms. Record the expected output per hour, operating hours per shift, product dimensions, and acceptable variation. Include both routine demand and short peak periods; sizing only for a best-case run can leave a line struggling later. Small details matter. Note whether frequent color or product changes are part of the schedule, since changeovers affect usable production time.

Then identify the exact material grade, not just a broad category such as polyethylene. Different grades can vary in melt flow, processing temperature, and sensitivity to heat or moisture. Check the material supplier’s processing data, along with any fillers, colorants, or recycled content in the formulation. Those additions can change flow and wear. A datasheet helps, but it is not the whole truth. Real production conditions are messier.

Match the extruder’s screw design, heating capacity, and feed system to the material and target output. Ask how operating limits were established, and request a trial using a representative sample when practical. Watch for unstable pressure, uneven output, or changes in product dimensions during the run. A trial cannot predict every production issue, but it can expose assumptions before installation.

Compare Extruder Types, Screw Designs, and Configurations

Choosing the best plastic extruder starts with matching its design to your material and production goals. A single-screw extruder is often a practical choice for steady melting and straightforward processing. Twin-screw models offer stronger mixing and more control over additives, but they may require greater investment and setup expertise. Compare expected output, material behavior, and cleaning needs—not just the maximum production rate. A fast machine is not always the right machine.

Tip: Check the screw design against your resin. Screw diameter, length-to-diameter ratio, and compression profile affect melting, mixing, and pressure. For heat-sensitive materials, excessive shear can cause degradation. Ask for processing data with a material similar to yours, then verify it during a trial. Paper specifications can look reassuring; real production may disagree.

Tip: Compare configurations as carefully as extruder types. A vented barrel can help remove moisture or volatiles, while screen changers and melt pumps can improve filtration and flow consistency. Match the die, cooling method, and downstream equipment to the intended product. Leave room for maintenance access and future changes. I would not assume a more complex line is better; extra components can add adjustment points and downtime.

Assess Output Capacity, Precision, and Process Controls

A plastic extruder should match the material, profile, and production schedule—not just a headline output figure. Check rated capacity against the resin and operating conditions you expect to use. A line making thin sheet may behave differently from one producing thick pipe, even at similar hourly output. Ask for trial data using comparable materials and dimensions. That gap matters.

Look closely at precision. Review the machine’s ability to hold wall thickness, width, and other critical dimensions over a full production run. Ask how measurements are taken and how often operators need to adjust the die or haul-off speed. A sample that looks right for five minutes proves little. Watch the melt. Stable temperature zones, screw speed, pressure readings, and cooling conditions help explain why dimensions drift. Your own product tests should confirm performance; supplier figures alone are not enough.

Process controls should make changes visible and repeatable. Useful features include clear temperature displays, pressure alarms, recipe storage, and trend records. Check whether operators can spot a blocked screen or temperature fluctuation before defects spread. Controls can reduce guesswork, but they cannot fix a poor setup or inconsistent feed. It is tempting to compare machines by automation level alone. I would also examine how easily a shift worker can find a fault at 2 a.m. Real production is messier than a specification sheet.

Check Material Compatibility, Energy Use, and Maintenance Needs

7 Tips for Choosing the Best Plastic Extruder

Tip 1 Match the screw, barrel, and temperature range to your resin. A machine suited to polyethylene may not process a moisture-sensitive engineering resin equally well. Check the supplier’s processing window, required drying conditions, and any additives. On a trial run, inspect pellets for unmelted specks and watch for unstable pressure. Small gaps matter.

Tip 2 Compare energy use under realistic production conditions, not just motor ratings. The U.S. Department of Energy’s 2014 motor-systems sourcebook estimates that motor-driven systems use about 54% of U.S. manufacturing electricity. That figure covers many industries, not extruders alone, but it shows why drive efficiency deserves attention. Ask for measured kilowatt-hours per kilogram at your target output. A larger motor is not automatically more efficient.

Tip 3 Check maintenance access before buying. Can technicians reach heaters, screens, and lubrication points without dismantling nearby equipment? Review the expected wear life of screws and barrels for your material, then price replacement parts and service time. Keep a log of melt pressure, temperature, and output; gradual changes can reveal wear early. Still, logs need consistent readings—or they become guesswork.

Evaluate Supplier Support, Safety, and Total Ownership Cost

Tip 1: Test supplier support before choosing a plastic extruder. Ask who handles commissioning, operator training, and urgent faults after installation. Request a sample response plan, not a general promise. Could a technician review a die-pressure alarm remotely? Get typical response hours and spare-parts lead times in writing. Promises are cheap. Support matters after startup.

Tip 2: Inspect safety features with operators and maintenance staff. Check guards around rotating parts, emergency stops, hot-surface insulation, and safe access for screen changes. Ask how lockout steps are taught and documented. Watch a demonstration, if possible. Small details matter. A clear sightline to the control panel can help prevent rushed adjustments, but it does not replace training or risk assessment. Confirm that safety claims match the supplied configuration.

Tip 3: Compare total ownership cost, not just purchase price. Include power use, tooling, cooling, planned maintenance, consumables, downtime, and scrap. Ask suppliers to state assumptions for throughput and operating hours. Check whether service fees or software updates recur. I would leave a contingency line; forecasts are rarely perfect. A lower quote may cost more when a heater fails and replacement stock takes weeks. Use your production data where available, then revisit the estimate after a trial run.

Scroll to Top