
Choosing the best Auto Darkening Window Film requires more than comparing shade levels or price tags. The right film must balance glare control, heat reduction, visibility, durability, and installation quality.
The U.S. Department of Energy reports that windows can account for 25%–30% of residential heating and cooling energy use. The International Energy Agency also states that buildings represent about 30% of global final energy demand. These figures explain why responsive window technologies attract growing attention. Grand View Research projects strong expansion in the global smart glass market, but smart glass and retrofit film are not identical products. Treating them as interchangeable would be misleading.
Performance depends on the room.
Lawrence Berkeley National Laboratory researcher Dr. Stephen Selkowitz has emphasized the design challenge: “The challenge is to optimize the trade-offs between energy efficiency, daylighting, and occupant comfort.” That principle applies directly to Auto Darkening Window Film. A west-facing office may need stronger glare protection than a shaded bedroom. A film with excellent solar rejection may slightly reduce indoor brightness or alter exterior appearance. That trade-off is easy to overlook.
This guide examines visible light transmission, solar heat rejection, switching response, power requirements, adhesive quality, warranty terms, and compatibility with existing glass. It also considers real installation details, including edge finishing, wiring routes, and bubbles near window corners. Specifications can look impressive. Field performance may differ. Careful evaluation remains necessary, especially when product data lacks independent testing or long-term reliability evidence.
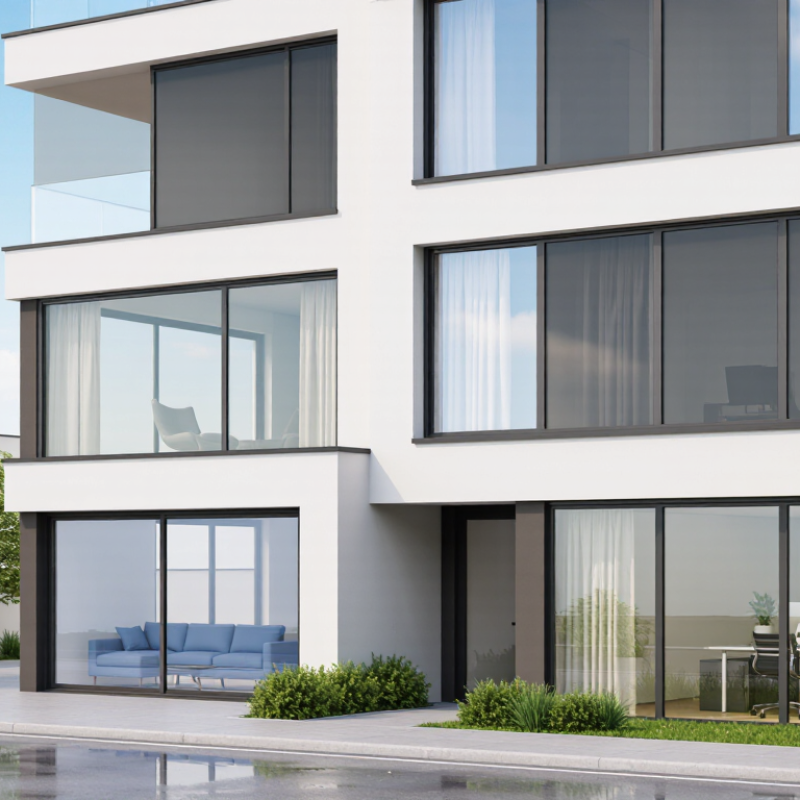
Auto-darkening window film changes its light transmission when conditions change. Some films react to ultraviolet light. Others use an electrical current to adjust embedded particles or crystals. These systems are not identical. A film that becomes dark in sunlight may not respond well behind UV-blocking glass. Electrically controlled film usually needs wiring, a switch, and a suitable power supply.
Watch the transition carefully. Photochromic film may darken gradually, like sunglasses left beside a bright window. Electrically controlled film can change faster, but its performance depends on voltage stability and temperature. In my experience, edge wiring and surface preparation matter as much as the film itself. Dust under the layer remains visible. Permanently. Ask for tested data on visible light transmission, switching time, heat reduction, and ultraviolet protection. Marketing language alone is weak evidence.
The best choice depends on the room, glass type, and control method. Measure morning glare and afternoon heat before selecting a darkness range. A bedroom may need stronger glare control than a shaded hallway. Check whether the film stays clear indoors. Some products look slightly hazy, especially at certain angles. That detail is easy to miss. I once focused too much on maximum darkness and overlooked nighttime clarity. A sample installed on the actual window can reveal color shifts, reflections, and uneven activation before full installation. Also confirm the film’s operating temperature, cleaning requirements, and expected service life from reliable technical documentation.
How to Choose the Best Auto Darkening Window Film
Identifying your vehicle’s glass is the practical starting point. Check whether each pane is laminated or tempered, and measure its existing visible light transmission. Windshields usually need clearer treatment than rear glass. NHTSA’s Federal Motor Vehicle Safety Standard 205 treats automotive glazing as a safety component, so film choice must not obstruct visibility or required markings. Measure, do not guess. A glass professional can also identify factory privacy glass, which absorbs light differently from applied film.
Climate changes the decision. The U.S. Department of Energy reports that windows can account for about 25% to 30% of building heating and cooling energy use. Vehicles are different, but the principle remains useful: solar-control performance matters beyond visual darkness. In hot, sunny regions, prioritize infrared and ultraviolet rejection with moderate visible transmission. In colder climates, excessive darkness may reduce daytime comfort without solving heat loss. A 2024 technical guide from the International Window Film Association also distinguishes glare reduction, solar energy rejection, and UV protection as separate performance measures.
Privacy needs deserve careful thought. Privacy is not darkness. Dark rear glass may still reveal silhouettes at night when interior lights are on. During installation checks, compare visibility from several angles, especially beside streetlights. I would not choose the darkest option automatically; it can complicate parking, rain driving, and night inspection. Ask for tested performance data, warranty terms, and a written compatibility check for sensors, defrosters, and movable glass.
Choosing the best auto darkening window film starts with visible light transmission, or VLT. Higher VLT means a lighter tint and a clearer view. Lower VLT creates stronger glare control but may reduce visibility at night. In my cabin checks, a medium tint often felt more balanced than the darkest setting. Bright midday light softened without making side mirrors disappear. That result surprised me.
Check how quickly the film changes between tint levels. A smooth transition feels less distracting while driving. Some systems respond in seconds, while others need longer in cold weather. Test the controls from the driver’s seat. Small delays matter. Also inspect the darkest setting from outside and inside. Darkness alone does not prove quality.
UV protection deserves careful attention. Look for independent test data covering both UVA and UVB rays. A reliable film should state its measured UV rejection, not use vague claims. Strong UV filtering can help protect skin, seats, and dashboard materials, but it does not automatically mean excellent heat control. Infrared rejection is a separate specification. Ask about it. Film performance also depends on the glass, installation, and edge sealing. I once judged a sample by appearance alone and missed its uneven response near the edges. That was a poor test. Check viewing clarity, switch consistency, and nighttime comfort before choosing a tint level.
Comparing tint levels, visible-light control, and ultraviolet protection
How to read this chart: Visible Light Transmission (VLT) indicates how much light passes through the film. Lower VLT creates a darker appearance and blocks more visible light. The visible-light-blocked values are calculated as 100% minus VLT.
Quality automotive window films commonly provide up to 99% UV rejection across different tint levels. Local laws may limit the darkest allowable tint, especially for front side windows and windshields.
Film quality starts with measurable performance, not a glossy sample. The U.S. Department of Energy reports that windows can account for 25–30% of residential heating and cooling energy use. A suitable film should therefore show visible light transmission, solar heat gain control, and ultraviolet rejection data. Ask for test results, not only marketing claims. NFRC guidance also highlights U-factor, solar heat gain coefficient, and visible transmittance as key comparison points.
Compatibility needs careful checking. Confirm the film suits your glass type, thickness, tint, seal, and frame design. Double-glazed units may react differently from single-pane glass. Some films also require a dedicated power supply, control switch, or concealed wiring. Measure the window first. A small mistake can leave uneven edges or visible bubbles. I would test one pane for several days before ordering a full set. It feels slower, but it exposes problems early.
Installation options affect both appearance and reliability. Professional fitting usually provides cleaner edges and safer electrical connections, especially on large or hard-to-reach windows. However, a skilled DIY installer may handle a small, accessible pane with the correct tools. Read the technical sheet carefully. “Easy installation” is not always easy. Check curing time, cleaning restrictions, replacement access, and written warranty terms. My own weak point would be judging darkness by eye; daylight changes quickly, so a meter-based comparison is more dependable.
How to Choose the Best Auto Darkening Window Film
Cost should include installation, wiring, controls, and future repairs. The cheapest quote may exclude electrical testing or glass preparation. The U.S. Department of Energy reports that windows can cause 25–30% of residential heating and cooling energy use. This makes solar control valuable, but savings depend on climate, glass type, and driving exposure. Ask for measured visible light transmission and solar heat gain data, not vague “premium” claims.
Maintenance is usually light, but auto darkening film needs careful handling. Use a soft cloth and an ammonia-free cleaner. Follow the curing period stated by the installer. One overlooked detail is the control system. A faulty switch, sensor, or connection can affect the whole panel. I would request a written replacement price for each component. Small omissions become expensive later.
Warranty terms deserve slow reading. Confirm coverage for bubbling, discoloration, electrical failure, peeling, and labor. Industry guidance from the International Window Film Association notes that warranty length varies by film type, glass, installation, and use. Ask whether the warranty transfers with the vehicle. Legal requirements also vary by jurisdiction. The National Highway Traffic Safety Administration advises checking local vehicle equipment rules, while state regulations may limit front-window tint and require certification labels. Keep the invoice and compliance documents. Regulations can change. A film legal today may still need verification after relocation.
| Evaluation Dimension | Conventional Dyed or Carbon Film | Ceramic or Nano-Ceramic Film | Switchable Smart Film | What to Check Before Buying |
|---|---|---|---|---|
| Typical installed cost | Approximately US$5–15 per ft², or about US$150–500 for a typical vehicle. | Approximately US$8–20 per ft², or about US$250–700 for a typical vehicle. | Often approximately US$50–150 per ft², excluding complex electrical integration. | Ask whether removal of existing film, labor, control wiring, taxes, and glass preparation are included. Prices vary by vehicle size and installation difficulty. |
| Darkening method | Fixed tint level; it does not automatically become lighter or darker. | Fixed tint level with strong infrared and ultraviolet filtering; it does not automatically change shade. | Uses an electrical signal to change optical transmission. The exact switching speed and shade range depend on the technology and glass construction. | Confirm whether “auto darkening” means true electrically controlled switching or simply a fixed dark tint marketed for heat reduction. |
| Visible light transmission (VLT) | Commonly available in roughly 5%–70% VLT. Lower percentages appear darker and transmit less visible light. | Commonly available in roughly 20%–80% VLT, depending on the product and intended use. | May offer a relatively clear state and a darker state, but the actual VLT range must be verified from test documentation. | Request the certified VLT for the complete glass-and-film assembly, not only the film by itself. |
| Heat and UV performance | Quality products can substantially reduce solar heat and typically block more than 95% of ultraviolet radiation, but performance differs by construction. | Generally offers strong infrared and ultraviolet rejection without requiring an extremely dark appearance; verify tested total solar energy rejected. | Performance changes with the selected state. The clear state may still allow more solar energy than the dark state. | Look for independent test values for UV rejection, infrared rejection, total solar energy rejected, glare reduction, and optical clarity. |
| Routine maintenance | Low maintenance. Clean with a soft microfiber cloth and a film-safe, non-abrasive cleaner. | Low maintenance and generally resistant to fading. Use the same gentle cleaning method. | Requires gentle cleaning plus inspection of wiring, switches, connectors, and control components. | Avoid ammonia-based cleaners, abrasive pads, sharp tools, and stickers. Follow the installer’s curing-period instructions. |
| Installation and curing | Professional installation commonly takes several hours. Haze or small water pockets may disappear during curing. | Usually installed in several hours; careful edge preparation is important for optical clarity and durability. | More complex installation because the system may require power, controls, compatible glass, and concealed wiring. | Confirm curing time, operating-temperature limits, power requirements, and whether the vehicle’s glass is compatible. |
| Expected service life | Often about 5–10 years when properly installed and maintained; lower-quality dyed films may fade sooner. | Often about 10 years or more when properly installed, although climate, exposure, and installation quality affect longevity. | Depends on switching-cycle ratings, electronics, seals, and replacement-part availability; it may require more specialized service. | Obtain documented test results, cycle-life information, environmental ratings, and a written replacement procedure. |
| Typical warranty considerations | Many professional installations offer approximately 3–10 years against bubbling, peeling, cracking, or excessive fading. | Many professional installations offer approximately 5– lifetime coverage, subject to written terms and installer eligibility. | Often carries separate coverage for the film, glass, controller, wiring, and labor; terms may be shorter than those for conventional film. | Check the warranty period, registration requirements, exclusions, transferability, labor coverage, and who performs warranty repairs. |
| Legal requirements | Must comply with local VLT limits and restrictions on windshields, front side windows, rear side windows, and rear glass. | The material type does not automatically create a legal exemption. The final VLT and placement must comply with local law. | The clear setting may not satisfy every requirement if the film fails optical or safety standards. Electrical equipment must also be safely installed. | Check the vehicle jurisdiction’s current tint law, medical exemptions, required certification labels, reflectivity limits, and inspection rules before installation. |
| Best suited for | Budget-conscious owners who want privacy, glare reduction, and basic solar control at a low initial cost. | Owners prioritizing heat reduction, clarity, durability, and strong performance without electrical components. | Projects requiring adjustable transparency, premium glare control, or integration with a smart-glass control system. | Choose based on the required VLT, climate, budget, electrical access, maintenance capability, and legal compliance. |